
Losing important files from your hard drive is stressful, but in many cases they can still be recovered.
Yes, you heard that right: hard drive data recovery is often possible because deleted files usually stay on the disk until something new takes their place. What you do in the next few minutes matters far more than any software you download later.
Here in this guide, we are going to explain the safe steps you can try at home, including Microsoft’s free recovery tool. We also show you the exact point where DIY stops being worth the risk.
No method can guarantee every file comes back, and anyone who promises otherwise deserves a healthy dose of scepticism.
How Do You Recover Data From a Hard Drive?
To recover data from a hard drive, stop using it straight away, work out whether the fault is logical or physical, check your backups, then run recovery software from a different drive. Save everything to a separate drive. If the drive clicks, grinds or isn’t detected, power it off and get a professional assessment.
- Stop using the affected drive
- Work out what kind of problem you have
- Check your backups and Recycle Bin
- Connect the drive safely and check it’s detected
- Choose suitable recovery software
- Run Windows File Recovery
- Save recovered files to a separate drive and check them
Step 1: Stop Using the Affected Drive
Every minute you keep using the drive lowers your chances. When Windows deletes a file, it marks that space as free space. The data is still there, but the next download, update or saved document can land right on top of it.
That’s called overwriting, and once it happens, no software can reverse it.
- Don’t save, install or download anything to the affected drive, including recovery software.
- If it’s your C: drive, use the computer as little as possible and read this on your phone.
- If it’s an external drive, eject it safely and unplug it until you’re ready.
Step 2: Work Out What Kind of Problem You Have
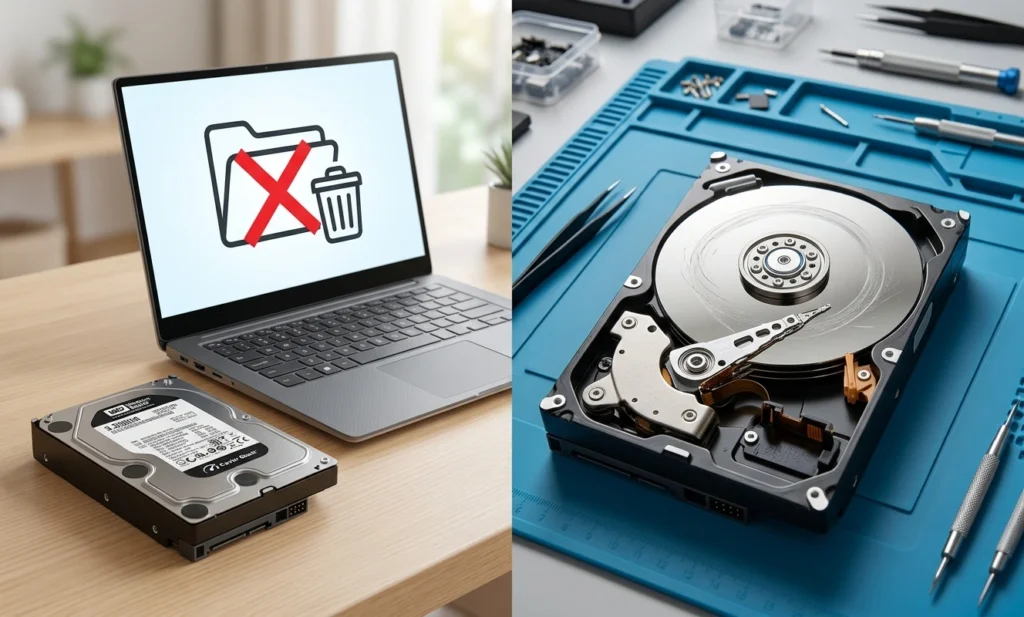
Every case of hard disk data recovery falls into one of two camps. A logical failure means the drive works but the files or file system are damaged. A physical failure means the hardware itself is failing.
Logical problems are often fixable at home. Physical ones are a job for a professional.
| What you notice | Type of failure | What it usually means | Your safest next move |
| Files deleted or Recycle Bin emptied | Logical | The file’s index entry is gone, but the data is often still there | Follow Steps 3 to 7 |
| Windows asks you to format the drive, or it shows as RAW | Logical | The file system or partition table is damaged | Cancel the prompt, then use Extensive mode |
| Drive formatted by mistake | Logical | A quick format clears the index, not the files | Stop writing to it and use Extensive mode |
| Very slow, freezes when you open folders | Possibly physical | Bad sectors or weak read/write heads | Stop scanning and have a disk image made |
| Clicking, grinding or beeping | Physical | Heads or motor are failing | Power off and get a professional assessment |
| Not spinning, no lights, not detected after cable checks | Physical or electronic | A circuit board (PCB), power or firmware fault | Power off and get a professional assessment |
| Dropped, wet, fire damaged or smells burnt | Physical | Internal damage | Don’t power it on at all |
| Hear clicking or grinding? Stop here. |
|---|
| Each time a damaged drive spins up, the heads can scrape the platters where your data lives. Skip straight to the section on professional help below. |
Step 3: Check Your Backups and Recycle Bin First
Your quickest win costs nothing. Before you try to recover deleted files from a hard drive with software, check whether a copy already exists somewhere.
- Recycle Bin: right-click the file and choose Restore. The file never left the drive, so this is perfectly safe.
- File History: search Start for “Restore your files with File History”. This only works if it was switched on before the loss.
- Previous Versions: right-click the folder, choose Properties, then open the Previous Versions tab. Older copies only appear if restore points or File History were already running.
- OneDrive, Google Drive or Dropbox: each keeps its own online recycle bin for a limited time.
- Other places: email attachments, your phone, a work laptop or a USB stick you lent someone.
Mac users with Time Machine can restore from there. The rest of this article focuses on Windows.
For anything restored from a backup, choose a different drive as the destination so nothing new lands on the affected one.
Step 4: Connect the Drive Safely and Check It’s Detected
The goal here is to look, not touch. You want Windows to see the drive without changing anything on it.
For external drives
Rule out the simple stuff first:
- Try a different USB cable and a port on the back of the PC.
- Try another computer.
- For larger desktop externals, check the power adaptor.
If the files were on your C: drive
Windows writes to the system drive constantly, even when you’re not saving anything. That makes the C: drive the riskiest place to run recovery from.
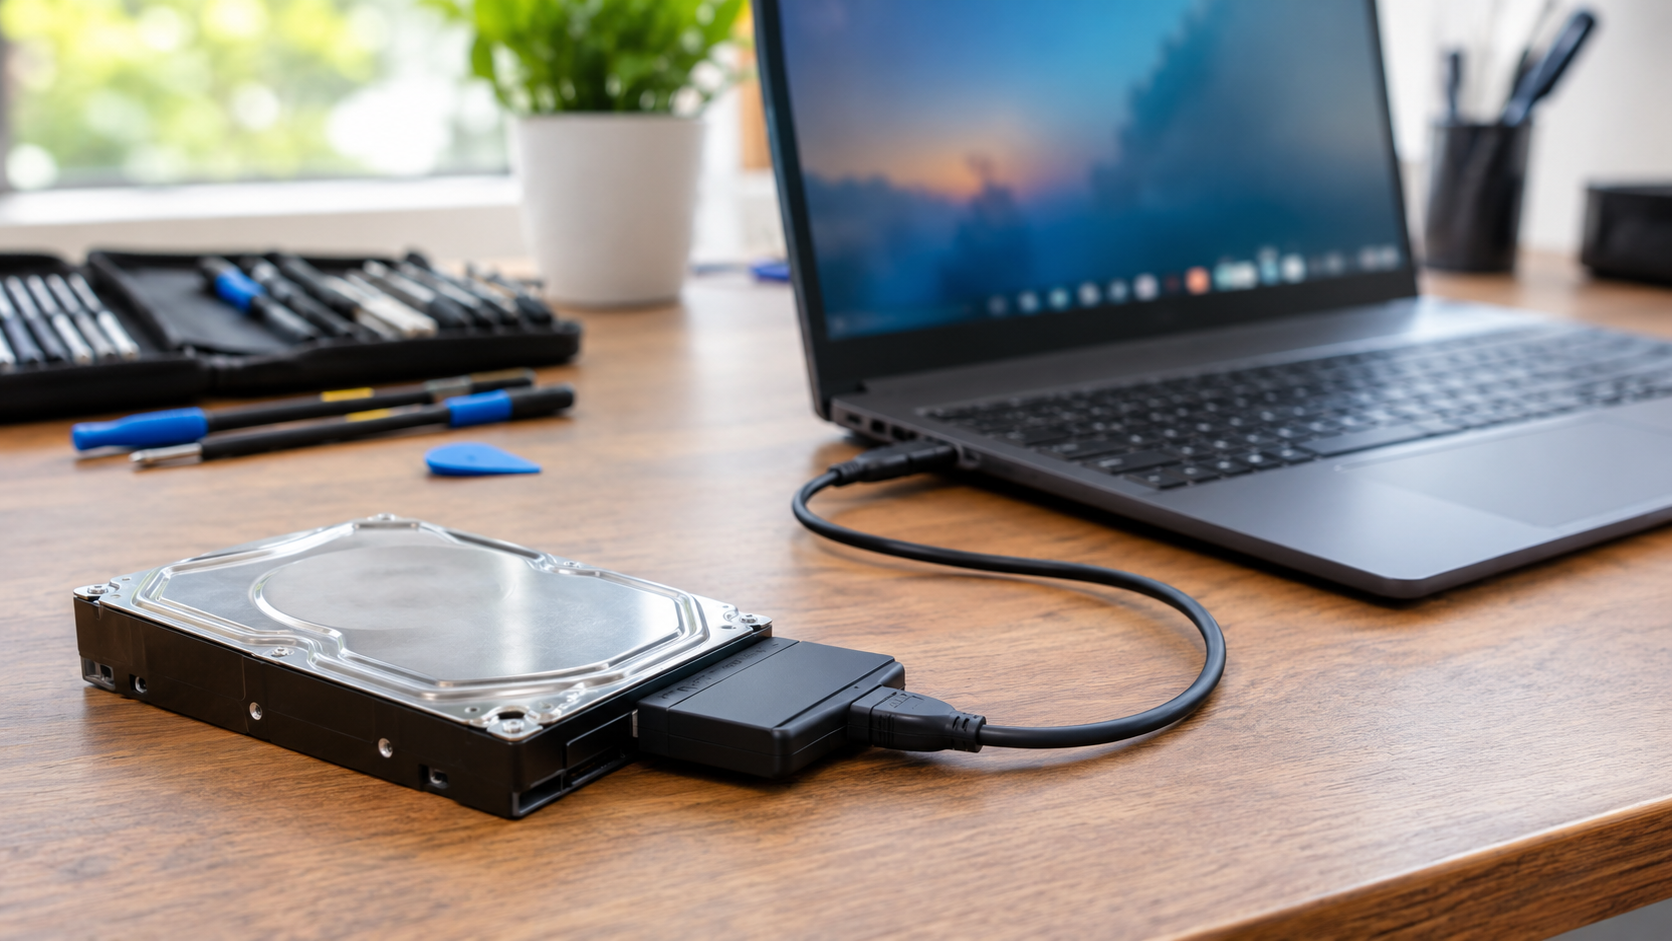
The safest path is to shut down, remove the drive and connect it to a working computer as a second drive. You can connect it in three ways:
- A direct SATA connection inside a desktop, which is the most stable option
- A USB dock
- A USB to SATA adaptor
Many thin laptops and MacBooks have storage soldered to the motherboard. In that case, removal isn’t an option, and a technician is your best bet.
Check what Windows sees
Open File Explorer and look for a drive letter. Then right click the Start button and choose Disk Management. Note the drive’s size, file system (NTFS, exFAT or FAT32) and status.
If your recovery tool shows the drive’s SMART status as Caution or Bad, the hardware is already struggling. Treat it as a physical problem.
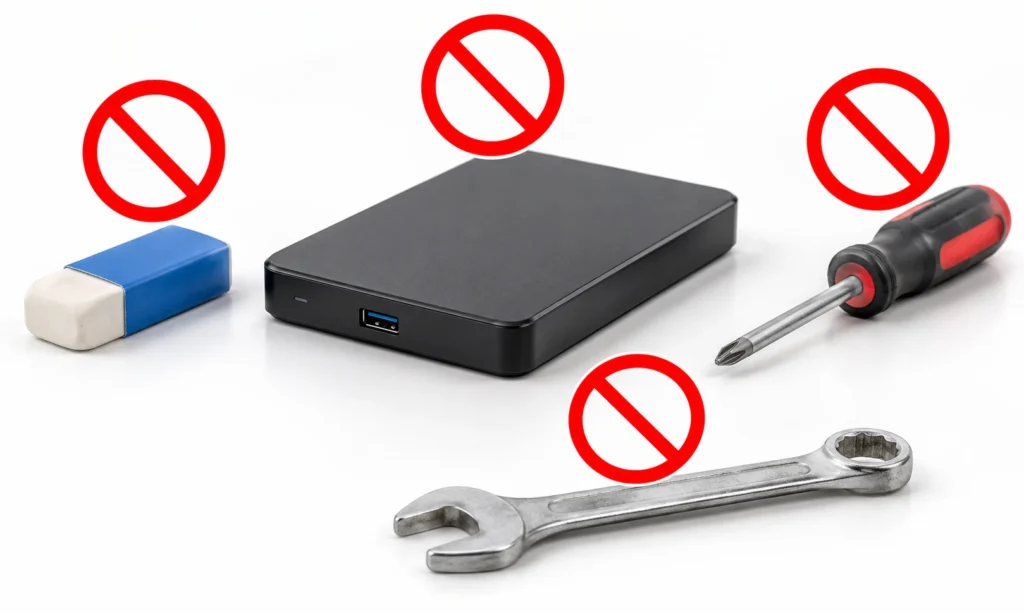
| Three things to never do at this stage |
|---|
| If Windows says “You need to format the disk in drive X: before you can use it”, click Cancel. Formatting leaves recovery tools far less to work with. |
| If Disk Management shows “Not Initialized” and offers to initialise it, close the window. Initialising writes a new partition table over the old one. |
| Skip CHKDSK and other repair tools for now. They make changes to the drive and can scramble the structure recovery software relies on. |
Step 5: Choose Suitable Hard Drive Recovery Software
For a healthy drive with a logical fault, free tools often do the job. Paid tools mainly add file previews and a friendlier screen.
- Windows File Recovery: free from the Microsoft Store and made by Microsoft. It runs from a command line on Windows 11 and Windows 10.
- PhotoRec and TestDisk: free and open source. PhotoRec finds files by their file signatures, while TestDisk can rebuild lost partitions. Both suit confident users.
- Commercial recovery tools: point and click, usually with a preview feature. Many scan for free but charge before you can save, so check the price before you start.
Whatever you choose, follow these rules:
- Install it on a different drive → never the one you’re recovering from
- Save results to a separate destination drive
- Prefer tools that let you preview files first
- Walk away from any tool claiming guaranteed results
If the drive is slow, drops out or throws read errors, every scan is another full pass over weak hardware. In that situation, a technician should make a sector-by-sector disk image (a clone) first, then recover from the copy.
If typing commands feels like defusing a bomb, trust that instinct and bring the drive in instead.
Step 6: How to Recover Files From a Hard Drive With Windows File Recovery
Windows File Recovery is free, made by Microsoft and has no upsell, which makes it the right starting point for most logical problems.
This walkthrough covers deleted files on a secondary internal drive or external USB hard drive, saved to a separate USB drive on Windows 11. If your files were on C:, connect that drive to another computer first, as explained in Step 4.
What you’ll need:
- The affected drive (E: in our examples)
- A separate USB drive with enough free space (F: in our examples)
- An administrator account
- Install the app. Open the Microsoft Store, search “Windows File Recovery” and click Get. It installs on C:, never on your affected drive.
- Check the drive letter and file system. In File Explorer, go to This PC, right click the affected drive and choose Properties. Note the letter and whether it says NTFS, exFAT or FAT32.
- Pick your mode.
| File system | Situation | Mode |
|---|---|---|
| NTFS | Deleted recently | Regular |
| NTFS | Deleted a while ago | Extensive |
| NTFS | After formatting | Extensive |
| NTFS | Corrupted drive | Extensive |
| FAT or exFAT | Any situation | Extensive |
- Open the tool. Search Start for Windows File Recovery and click Yes on the permission prompt. A Command Prompt window opens.
- Type your command. The format is winfr source: destination: /mode /switches.
- Recover a folder → winfr E: F: /regular /n \Photos\
- Recover all Word files → winfr E: F: /regular /n *.docx
- Find anything with “invoice” in the name → winfr E: F: /extensive /n *invoice*
Four rules trip people up:
- Put a space between the two drive letters, and include the colons.
- Add a backslash at the end of folder names.
- Wrap names containing spaces in quotes.
- The source and destination must be different drives.
- Type Y to start. Larger drives take a while. Press Ctrl + C if you need to stop.
- Find your files. Windows creates a folder called Recovery_<date and time> on your destination drive.
- Nothing found? Run the command again using /extensive instead of /regular. It digs deeper but takes longer.
Step 7: Save Recovered Files to a Separate Drive and Check Them
Never save recovered files back onto the drive you’re rescuing. Doing so can overwrite the very files you haven’t recovered yet.
Once your files are on the destination drive, check them properly:
- Open a sample of each type, such as photos, documents and spreadsheets.
- Look for files showing 0 KB. These came back empty.
- Expect generic file names from Extensive mode. Sort by type, date or size to find what matters.
- A photo that’s half grey was partly overwritten, and that damage is usually permanent.
When your files are safe, copy them to a second location straight away. The Australian Cyber Security Centre recommends backing up your files regularly to an external drive or trusted cloud service, and we couldn’t agree more.
External Hard Drive Data Recovery
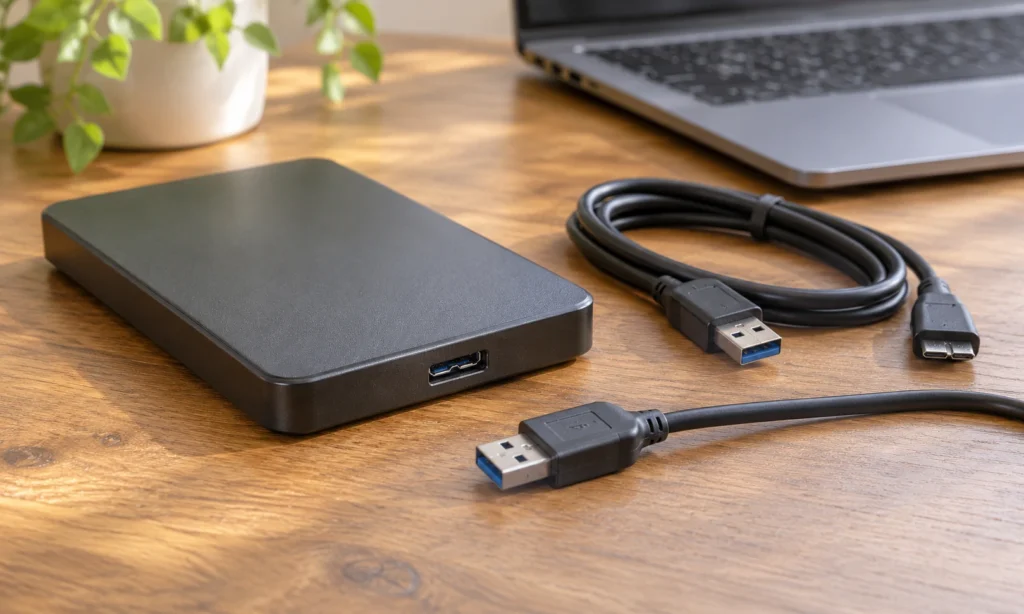
Plenty of external drive problems start outside the disk itself. A worn cable, a loose port or a dead power adaptor can make a perfectly healthy drive look finished.
Test another cable, port and computer before assuming the worst. Don’t prise the plastic case open, though. Some portable drives have the USB connector built into the drive’s own circuit board, so there’s no standard drive inside to rescue.
- Detected and sounds normal → follow Steps 3 to 7
- Format prompt appears → click Cancel
- Clicking, beeping or not spinning → jump to the professional help section
Can You Recover Files From a Formatted Hard Drive?
Often, yes, if it was a quick format and nothing new has been saved since. A quick format clears the file index but leaves most of the data on the platters, which is why Extensive mode can find it. A full format overwrites the drive, which usually rules out DIY recovery.
Two things will hurt your odds:
- Creating new partitions on the drive
- Reinstalling Windows onto it
Microsoft itself warns that creating a partition after data loss reduces your chances.
This article covers traditional HDDs. On an SSD, a feature called TRIM often clears deleted data quickly, so act fast and expect lower success.
When to Get Professional Data Recovery Help
Get professional help when the drive shows physical symptoms or the data is too important to gamble with. One wrong move at home can turn a recoverable drive into a lost cause.
Bring it in if:
- It clicks, grinds, beeps or won’t spin
- It isn’t detected after cable and port checks
- It’s been dropped, wet or burnt
- The files are critical, like business records or the only copy of your photos
- Software found nothing, or the files won’t open
- It’s part of a RAID or NAS setup
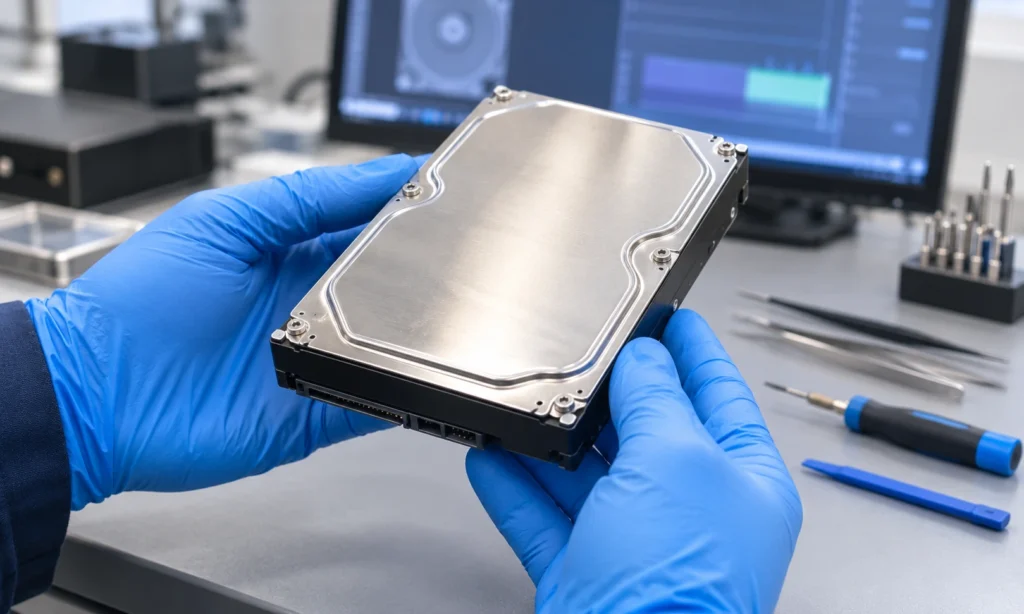
Hard drives are built to be opened only inside a clean room. Opening one outside a controlled environment can cause permanent damage, so leave the screwdriver in the drawer and skip the freezer and tapping tricks you’ll find online.
Our team has experience recovering data from RAID setups, hard disk drives, flash drives and more. If any of these apply, power the drive off and ask about our data recovery services before trying anything else.
Common Mistakes That Make Recovery Harder
- Installing recovery software on the affected drive → overwrites the very files you want back
- Saving recovered files to the same drive → same damage, twice over
- Clicking “Format” or “Initialize” → rewrites the file system or partition table
- Running CHKDSK first → changes the drive’s structure before recovery
- Opening the drive → dust can permanently damage the platters
- Power cycling a clicking drive → every spin up risks a head crash
- Trusting “guaranteed recovery” claims → nobody honest can promise that
Get Expert Hard Drive Data Recovery Help From Yes Tech Repairs
Not sure whether your drive is safe to try at home? The safest move is to stop, unplug it and talk to someone who sees failing drives every day.
At Yes Tech Repairs, we bring 15+ years of repair experience to every device that comes through our doors at St George’s Terrace in the Perth CBD.
Give us a call or stop by for a quote, and we’ll help you work out the safest next step.
Your photos, documents and business files deserve more than guesswork.
Contact Yes Tech Repairs today.
FAQs
Is professional data recovery worth it?
It’s worth it when the files exist nowhere else and can’t be recreated, like family photos or business records. Replaceable files rarely justify the cost.
Can you recover permanently deleted files on Windows 11 for free?
Yes. Windows File Recovery is free from Microsoft and can find files removed with Shift + Delete or an emptied Recycle Bin, if they haven’t been overwritten.
Can overwritten files be recovered from a hard drive?
Not with home software. Once new data takes over the same space, the original is gone. Partially overwritten files may return damaged or incomplete.
What happens if my computer shuts down during a recovery scan?
Recovery tools read from the source drive rather than writing to it, so you can usually just restart the scan. Repeated interruptions on a failing drive add wear.
Why does Windows File Recovery say source and destination cannot be the same?
The tool won’t save recovered files onto the drive it’s scanning. Connect a USB stick or external drive and use that drive letter as your destination.
Will data recovery void my hard drive warranty?
Running recovery software won’t. Opening the drive casing usually will, because it breaks the factory seal. Check your manufacturer’s warranty terms before sending it anywhere.
How long does hard drive data recovery take?
It depends on drive size, condition and method. Regular scans on small healthy drives are fairly quick, while Extensive scans and failing drives take much longer.


